Enjoy Free Delivery on Orders Over £40
Cleaning Your Vape Tank and Coil
Having a clean vape is the simplest way to get optimal performance. The components of your vape juice will naturally not stain your equipment, but the residue will accumulate and the buildup will ultimately affect performance.
A gunked-up coil will have lower flavor and vapor production and result in making your vape taste burnt.
After you have changed the coil head, the flavoring from your last juice might still be lingering in your device. This is especially true for flavors like tobacco, coffee, menthol, cinnamon, and other dominant flavors like melon, grape, or licorice.
if your vape coil is new, sometimes your atomizers and tanks would arrive smelling like machine oil. They might not look dirty, but the characteristic smell will give them away. Whether your device is fresh or well-used, carrying out proper cleaning is a simple way to guarantee the best possible experience. Fortunately, most tanks these days are easy to clean if you know the right steps to take. You may need a Cleaning Stick to aid the process.
Cleaning your Vape Tank
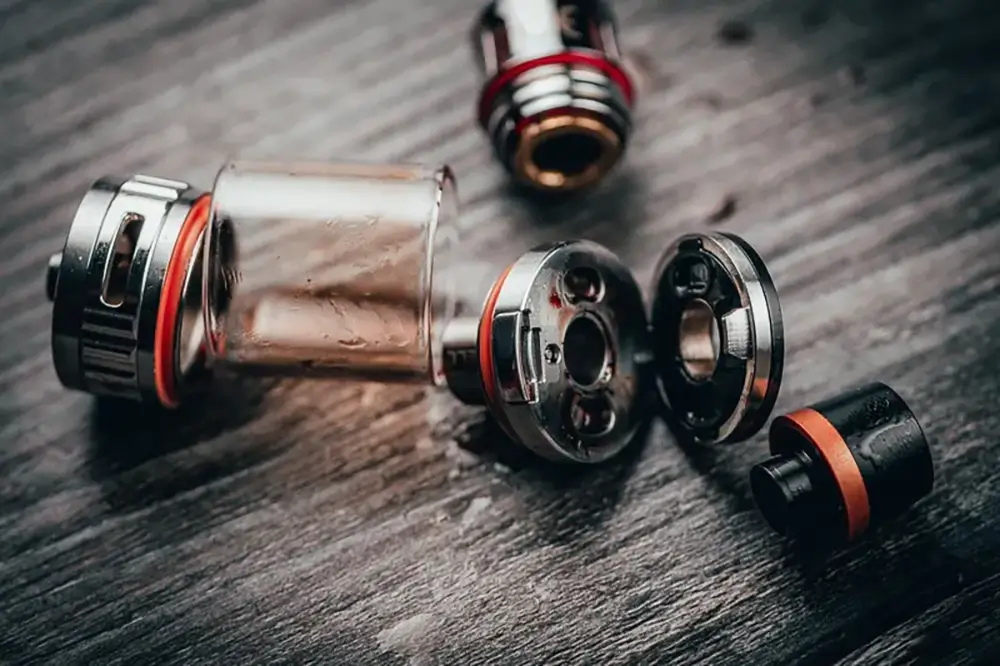
- Take the coils out and while you are at it, take the rest of the tank apart. You can use a small bowl to house everything while you do this. Ensure you pay close attention to how things fit together, and make mental note of what goes where. Be organized about this and don’t lose any pieces. This makes cleaning much more efficient, while also acquainting yourself with the ins and outs of your tank.
- If your tank is relatively clean, you can carry out a standard rinse by using warm water. Do this by taking the tank apart and separating the parts. Go ahead and place each part under running water and dry them with a piece of paper towel.Air dry afterward until no water or condensation is visible.
- If you do not want to use water to rinse, you can carry out a PG rinse. You can do this by soaking your tank in propylene glycol. Simply fill up a bowl or cup with your PG, and let your disassembled tank sit there for an hour or two. Don’t use a VG because it would make cleaning your tank more difficult since it’s a much thicker liquid.
- You can use some simple household items like baking soda, Ethanol, Vinegar, and Cheap Vodka to give your tank a deeper cleaning.
Cleaning your Coil
Replaceable coils come with coil heads for tanks, which are encased in a small metal chamber that contain an absorbent wick; and coils for rebuildable, which require the user to install and wick.
Cleaning replaceable coils
- Soak your coil in homemade cleaning materials like ethanol, vinegar or cheap vodka for at least a couple of hours
- Rinse under a tap
- Rinse once more with some distilled water
- Blow air on the clear side of your coil so it would force water to the wicking holes
- Set it aside till all water has evaporated
- A bit of sun or a heater will speed up the process
Cleaning Rebuildable coils
- You can start by removing the wicks from coils
- Try dry burning your coils lightly but make sure it doesn’t glow too much when you do this
- Discard the atomizer from the mod and place it carefully under running tap water
- Brush it lightly with a toothbrush or a coil cleaning tool; possibly a cleaning stick
- Rinse well again
- Finish off with a final dry burn to remove the last droplets of water
For most people, thoroughly cleaning their vape coil every time they change e-liquid sounds like a lot of work. Is cleaning your tank between juices necessary? It doesn’t have to be. If you have vaped your tank empty before changing e-liquid, it shouldn’t take long for the prior flavor to be totally flushed out.
To save yourself some time, remove the leftover flavor from your wicks by blowing into the mouthpiece of your tank while firing your mod. This will vaporize that last bit of liquid left. You need to do it at a very low wattage to be sure you’re not going to burn your wicks in the process.